
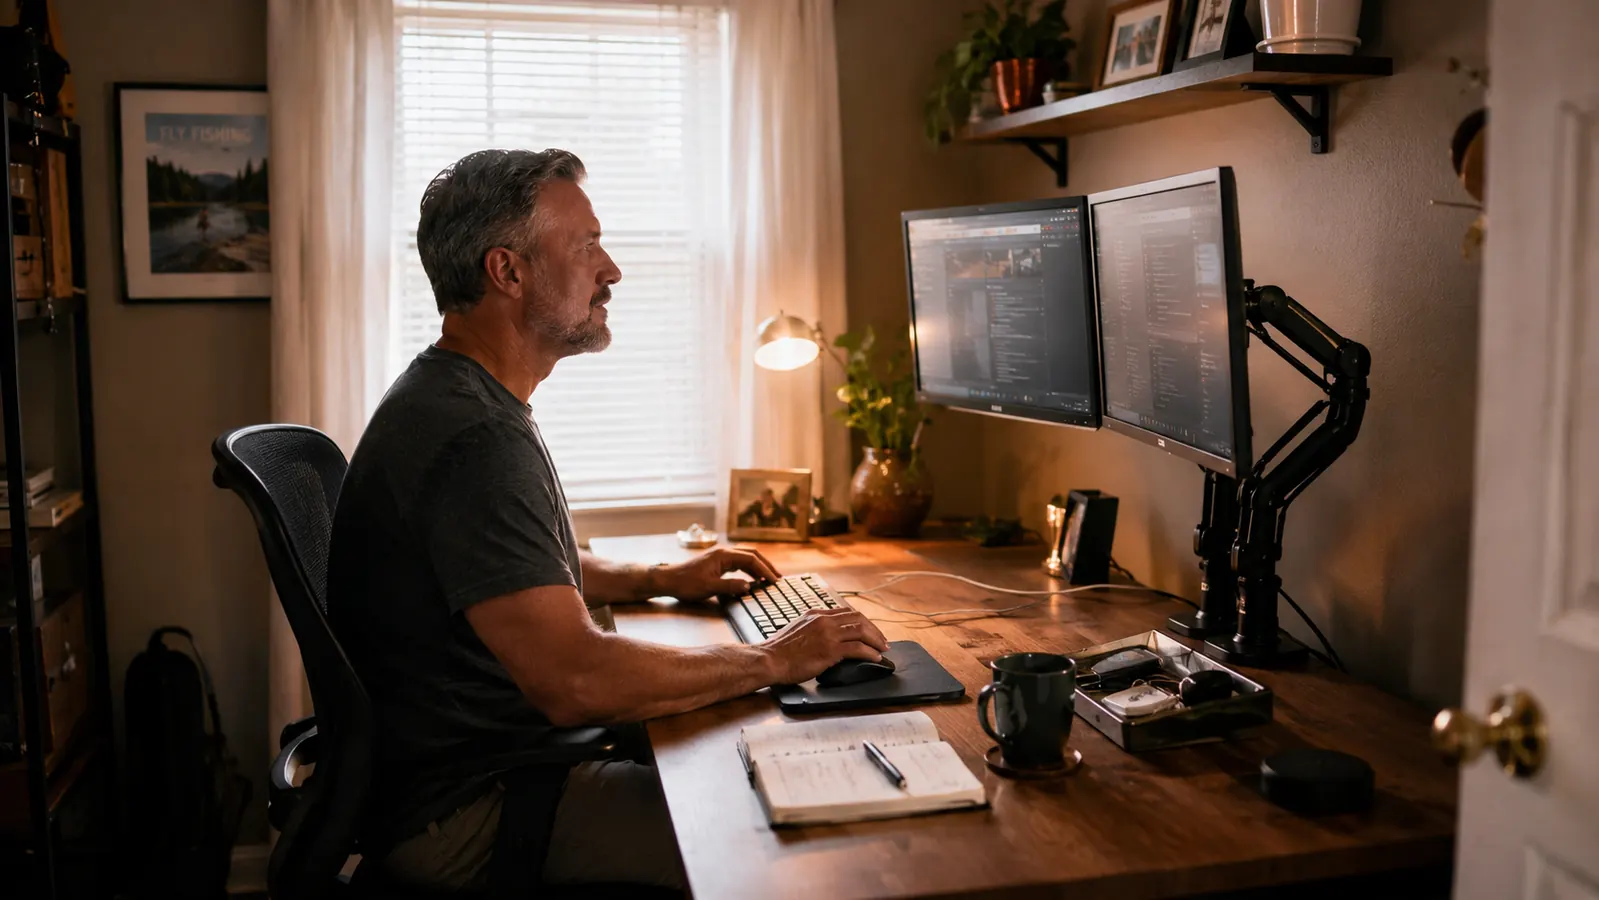
For about four years of working out of my spare bedroom here in Boise, I ran two monitors sitting flat on their stock plastic stands, both of them a good three inches below where my eyes actually landed. I didn't think about it much until my neck started aching by mid-afternoon most days, a tight band right across the base of my skull that crept into my shoulders by evening. I assumed it was just what a desk job did to you after enough years. It wasn't the years. It was the angle. The day I finally bolted a VIVO dual monitor mount to the back of my desk and raised both screens to eye level, that afternoon ache started backing off within the first week, because my neck finally stopped tipping forward and down for eight hours a day.
A monitor mount only helps if it's set up correctly, and I've seen plenty of people clamp one onto their desk, shove the monitor up as high as it'll go without measuring anything, and end up trading a downward neck strain for an upward one. This is the setup I actually run, in the order I do it, on a VIVO dual mount holding two 27 inch screens over a desk that's maybe five feet wide in a room that used to be a guest bedroom. None of this replaces a doctor's advice if your neck pain is sharp, persistent, or radiates into your arm. It's just what worked for a guy at a desk nine years running, written down the way I actually did it.
My Neck Stopped Aching the Week I Raised My Monitor
If your screen still sits flat on the desk below eye level, the VIVO dual monitor mount's full range of height, tilt, and swivel adjustment is worth a look before you spend another year looking down at a laptop or a low display.
Amazon Check Today's Price on Amazon →Step 1: Clamp the Mount to a Solid Point on the Desk
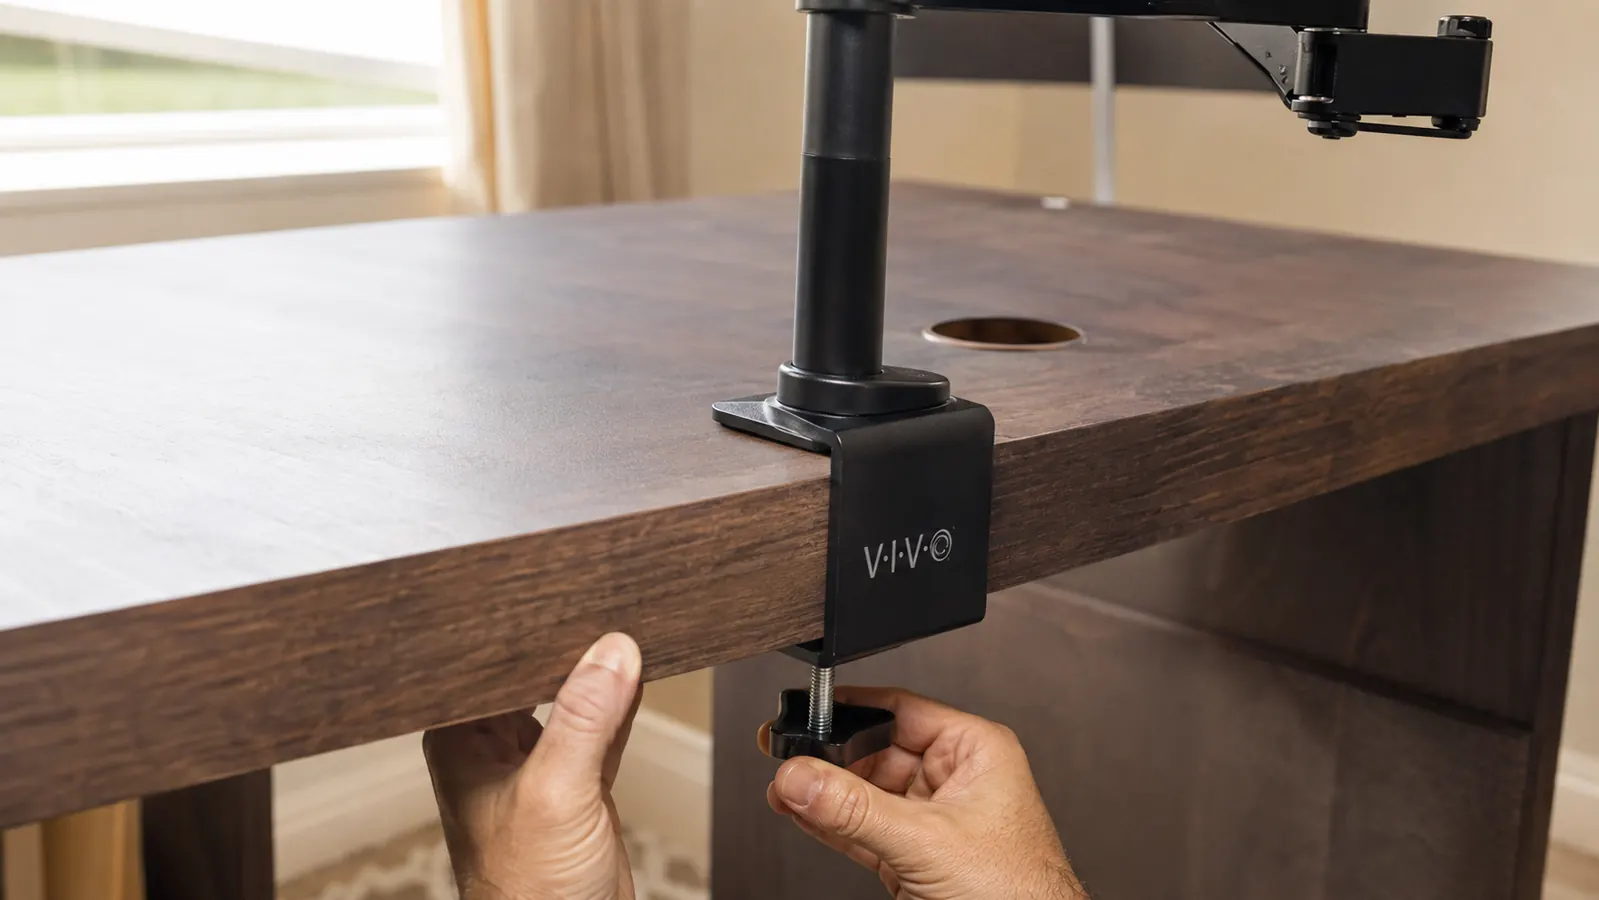
Before you touch monitor height at all, get the mount itself secured properly, because a wobbly base undoes every adjustment you make after it. The VIVO monitor mount comes with a C-clamp and a grommet mount option, and I'd tell anyone starting out to check the back edge of their desk before deciding which one to use. My desk has a solid wood lip along the back, so the C-clamp bites down cleanly and doesn't budge. If your desk has a thin particleboard edge or an edge that flares out, the grommet mount through a drilled hole usually holds tighter and looks cleaner besides.
Tighten the clamp more than feels necessary, then push down on the pole with real weight and check for any flex. I skipped this the first time I set mine up, left the clamp slightly loose, and spent two weeks with a monitor that drifted downward an inch every few days without me noticing, which quietly put my neck right back into the same forward tilt I was trying to fix. Once the base is solid, the rest of the setup actually holds instead of slowly sliding back to where it started.
If you're running two monitors like I am, make sure the crossbar or dual arm sits centered on the desk before you start attaching screens. I measured mine off the edge of the keyboard tray rather than the desk itself, since that's actually where I sit most of the day, and it made the whole rig easier to center once both arms had monitors hanging off them.
Step 2: Raise the Top of the Screen to Eye Level
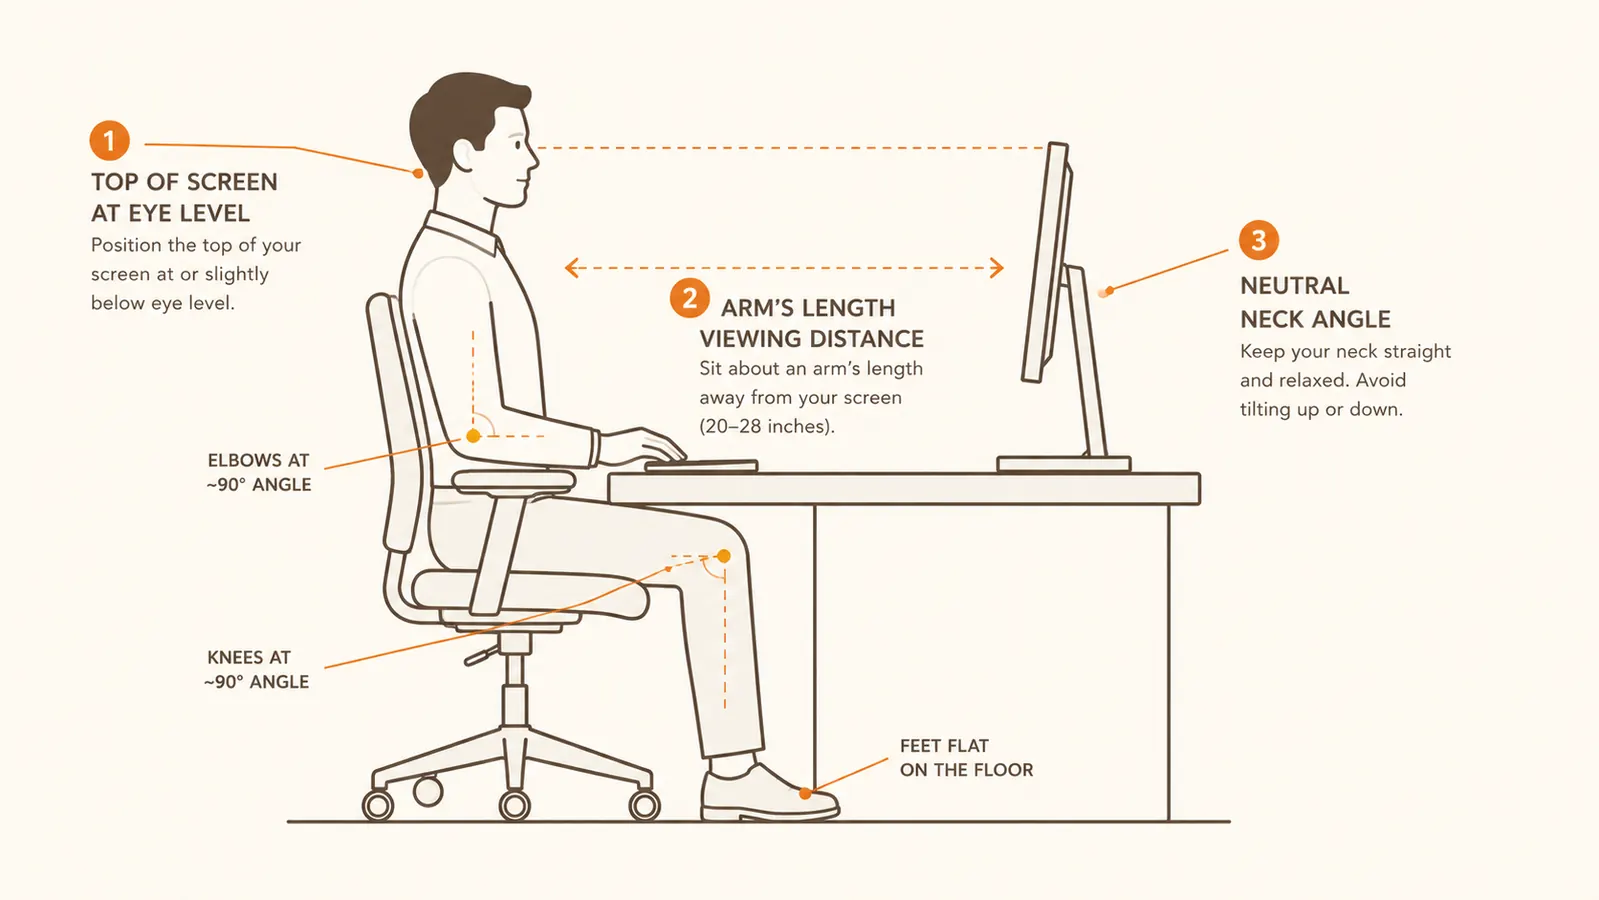
This is the step that actually deals with neck strain, and it's the one people skip because the monitor already looks fine sitting on its factory stand. Sit in your normal working posture, look straight ahead without tilting your chin up or down, and note exactly where your eyes land. The top edge of your monitor should sit right around that line, maybe an inch below it. Most stock monitor stands put the screen center at eye level instead of the top, which quietly forces your neck to tip down for the entire time you're looking at the lower half of the screen, hour after hour.
The VIVO mount's pole gives you several inches of vertical travel to work with, which is the whole reason I switched off the stock stands in the first place. I raised mine gradually over about ten minutes, sitting back down after every adjustment rather than eyeballing it standing up, because a height that looks right from standing can feel completely wrong once you've settled into your actual chair and your shoulders have relaxed down into their normal position.
If you wear bifocals or progressive lenses, drop the monitor slightly lower than the eye level rule suggests, since you're likely already tilting your chin a bit to read through the right part of the lens. I don't wear them myself, but a friend who does had to come down almost two inches off where I sit before his neck stopped complaining, so don't assume the standard measurement applies to everyone in the room.
Step 3: Set the Distance and Tilt Angle Together
Height alone isn't the whole fix. Pull the monitor arm out or in until the screen sits roughly an arm's length away, close enough to read comfortably without you leaning forward, far enough that you're not straining your eyes to focus. I run mine at about 24 inches from where my nose sits when I'm upright, which took some trial and error since I do a lot of detail work in spreadsheets and needed it slightly closer than the general recommendation you'll see floating around online.
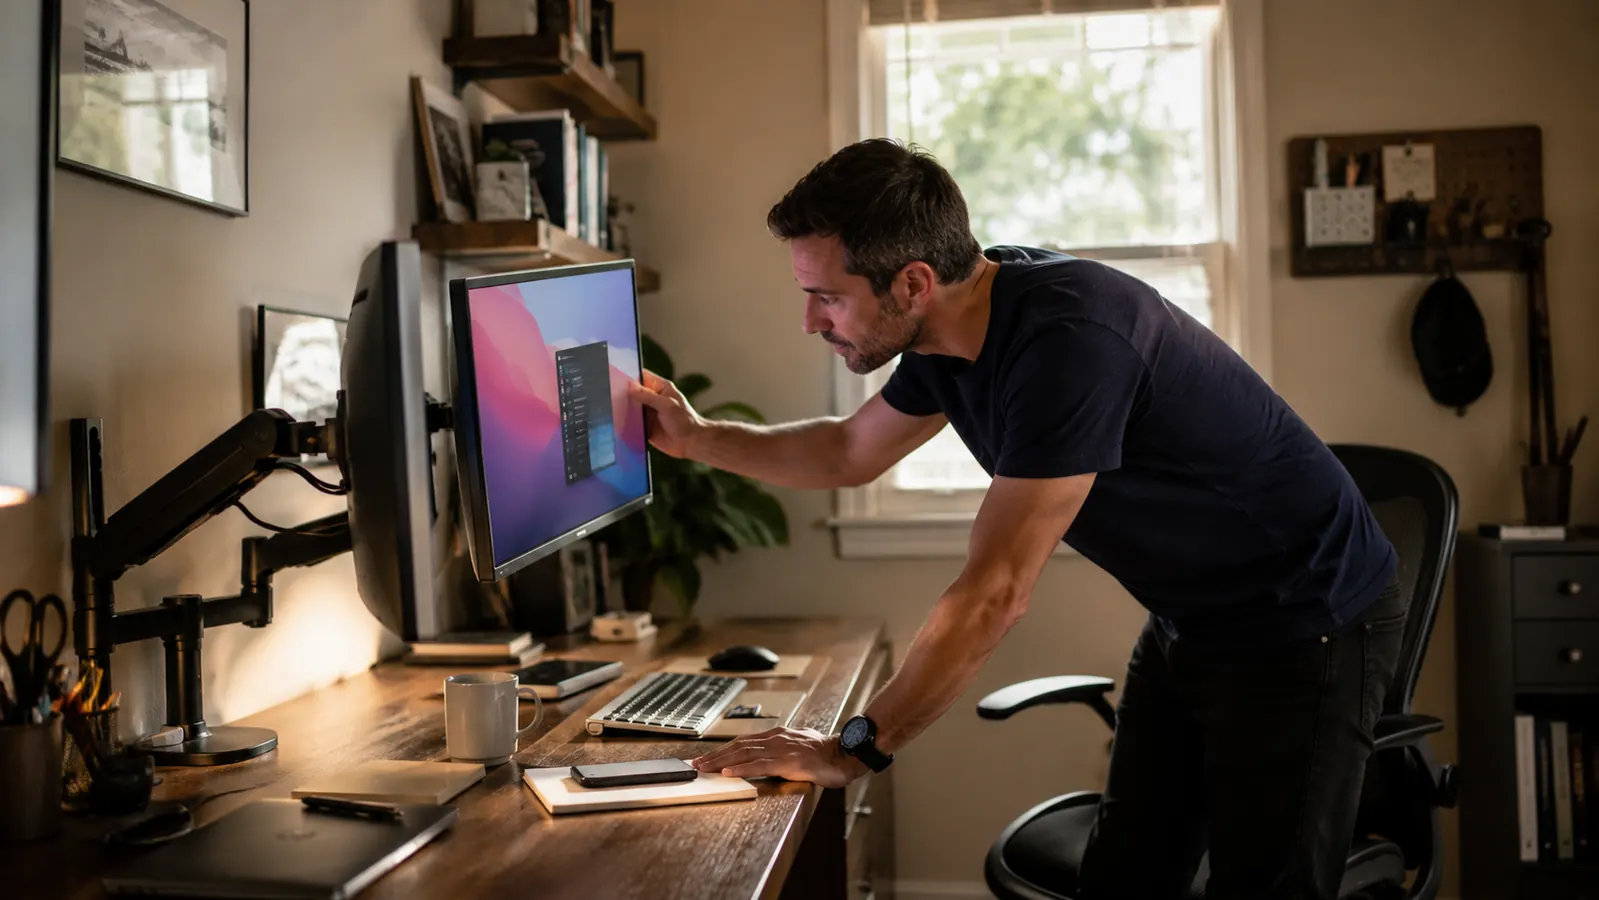
Then tilt the top of the screen back a few degrees, away from your face rather than toward it. A monitor tilted forward catches glare off the ceiling lights and encourages you to lean in and crane your neck to see it clearly, which recreates the exact strain you're trying to eliminate. The VIVO mount's tilt hinge holds the angle once you set it, so this is a one-time adjustment rather than something you're fighting with every day, which was a real change from the stock stand that used to slowly droop forward on its own over a few weeks.
If you're running dual monitors, angle each one slightly inward toward you rather than keeping them dead flat and parallel. That small inward swivel means you're turning your head a bit less to look between the two, and after a full day of switching between screens for reference material and actual work, that adds up to noticeably less neck rotation by the time you shut everything down for the evening.
Step 4: Match the Keyboard and Chair Height to the New Monitor Position
Once the monitor moves, everything below it needs a second look, because raising the screen without checking your chair and keyboard just shifts the strain somewhere new. Sit down and check that your elbows rest close to 90 degrees with your wrists straight while typing. If your chair height was set to work with a low monitor, you may find yourself unconsciously slouching down or craning up now that the screen sits higher, so recheck the seat height and armrests after you've had the mount installed for a few days, not just on the first afternoon.
I had to bump my chair up almost an inch after installing the VIVO mount, which then meant my feet no longer sat flat on the floor, so I added a footrest to close that gap. It's a small chain reaction, but skipping it means fighting the new monitor height with your shoulders and lower back instead of actually benefiting from it. Give the whole setup a week before deciding it's dialed in, since your body adjusts gradually and a change that feels slightly off on day one often settles by day five.
This is also a good moment to check your desk lamp or overhead lighting for glare now that the monitor sits at a new height and angle. A screen that catches reflection from a window or ceiling fixture will pull your head forward and down again as you unconsciously try to see around the glare, quietly undoing the neck position you just fixed.
Step 5: Build the Break Habit Around the New Setup
A correctly positioned monitor takes the constant forward tilt out of your neck, but it doesn't replace movement, and I'd be lying if I said the mount alone fixed everything on its own. I still set a timer for every fifty minutes and get up for at least two, roll my shoulders, and turn my head side to side a few times before sitting back down. That habit did as much for my neck over the long run as the mount itself, and it costs nothing, which somehow makes it the step people skip most often.
I went back and read 10 Reasons a Monitor Arm Saves You From Neck Pain after I'd had mine running for a couple months, mostly to see if my experience lined up with other people's, and it tracked closer to my own timeline than I expected. If you want the longer view on how this exact VIVO mount holds up after months of daily adjusting and readjusting rather than just the initial setup, I wrote up my full review after six months of daily use covering the clamp, the tilt hinge, and whether the arms have loosened at all under regular use.
Recheck the setup every few weeks rather than treating it as a one-time job. I still catch myself sliding my chair back and craning forward toward the screen some afternoons, especially during long calls, and it takes about ten seconds to notice and reset. Letting it slide for a week is how the same old ache creeps back in, mount or no mount.
What Else Helps
The monitor position carries most of the weight here, but it isn't the only factor at play in a home office. A chair without decent lumbar support will pull your whole upper body forward over time no matter how perfectly the screen sits, which drags your neck right back into a slouch. Keyboard and mouse placement matter too, if you're reaching forward or sideways to type all day, your shoulders round forward and your neck follows along with them. None of this requires a big overhaul. It's mostly noticing which part of your body is quietly working harder than it should and fixing one thing at a time instead of assuming it's just how office work feels.
Two things I underestimated for years that turned out to matter almost as much as the monitor mount itself: room lighting and cable clutter. A monitor with sunlight or an overhead fixture reflecting off it will pull your head forward and down as you try to see around the glare, even with the screen at a perfect height. Repositioning the desk so the window sits to the side rather than behind the monitor solved most of that. And a floor tangled with cables under a small desk in a small room isn't just a tripping hazard, it's one more reason to skip the standing breaks that keep your neck loose during a long day. A basic cable tray under the desk cleared that up in about twenty minutes.
The mount didn't fix my neck. Looking straight ahead instead of down did.
Still Looking Down at a Screen All Day?
Nine years at a spare-bedroom desk taught me monitor height matters more than almost anyone realizes until they finally fix it. The VIVO dual monitor mount's full range of height, tilt, and swivel is the single adjustment that changed my afternoons the most.
Amazon See Current Price on Amazon →